How the Camera Maps Infrared Radiation

How the Camera Maps Infrared Radiation
The following educational material is extracted from the video course “The Infrared Photography Masterclass”.
In my course “The Infrared Photography Masterclass”, I discuss how the digital camera recreates images by measuring light intensity using photosites, which are then encoded as pixel tones and colors across the scene. This encoding process is something that every infrared photographer should understand because, since human vision is not sensitive to the near infrared portion of the spectrum, we want to understand how we get images from radiation that is invisible to humans.

The most natural question is if humans can’t see any radiation that reflects off of objects in the near infrared radiation, which is over 700 nanometers, then how can we record objects in that portion of the spectrum using a camera? The logic is that if near infrared radiation is invisible to humans, how can we produce an image from a camera? This is where the concept of "mapping" comes into play.
The process of mapping infrared radiation to human perceivable tones is accomplished by the sensor of a digital camera measuring photons that fall into the photosites of the camera's sensor. The photosites are sensitive to photon energy in the near infrared as well as the visible portions of the spectrum. In fact, they are very sensitive to infrared radiation.
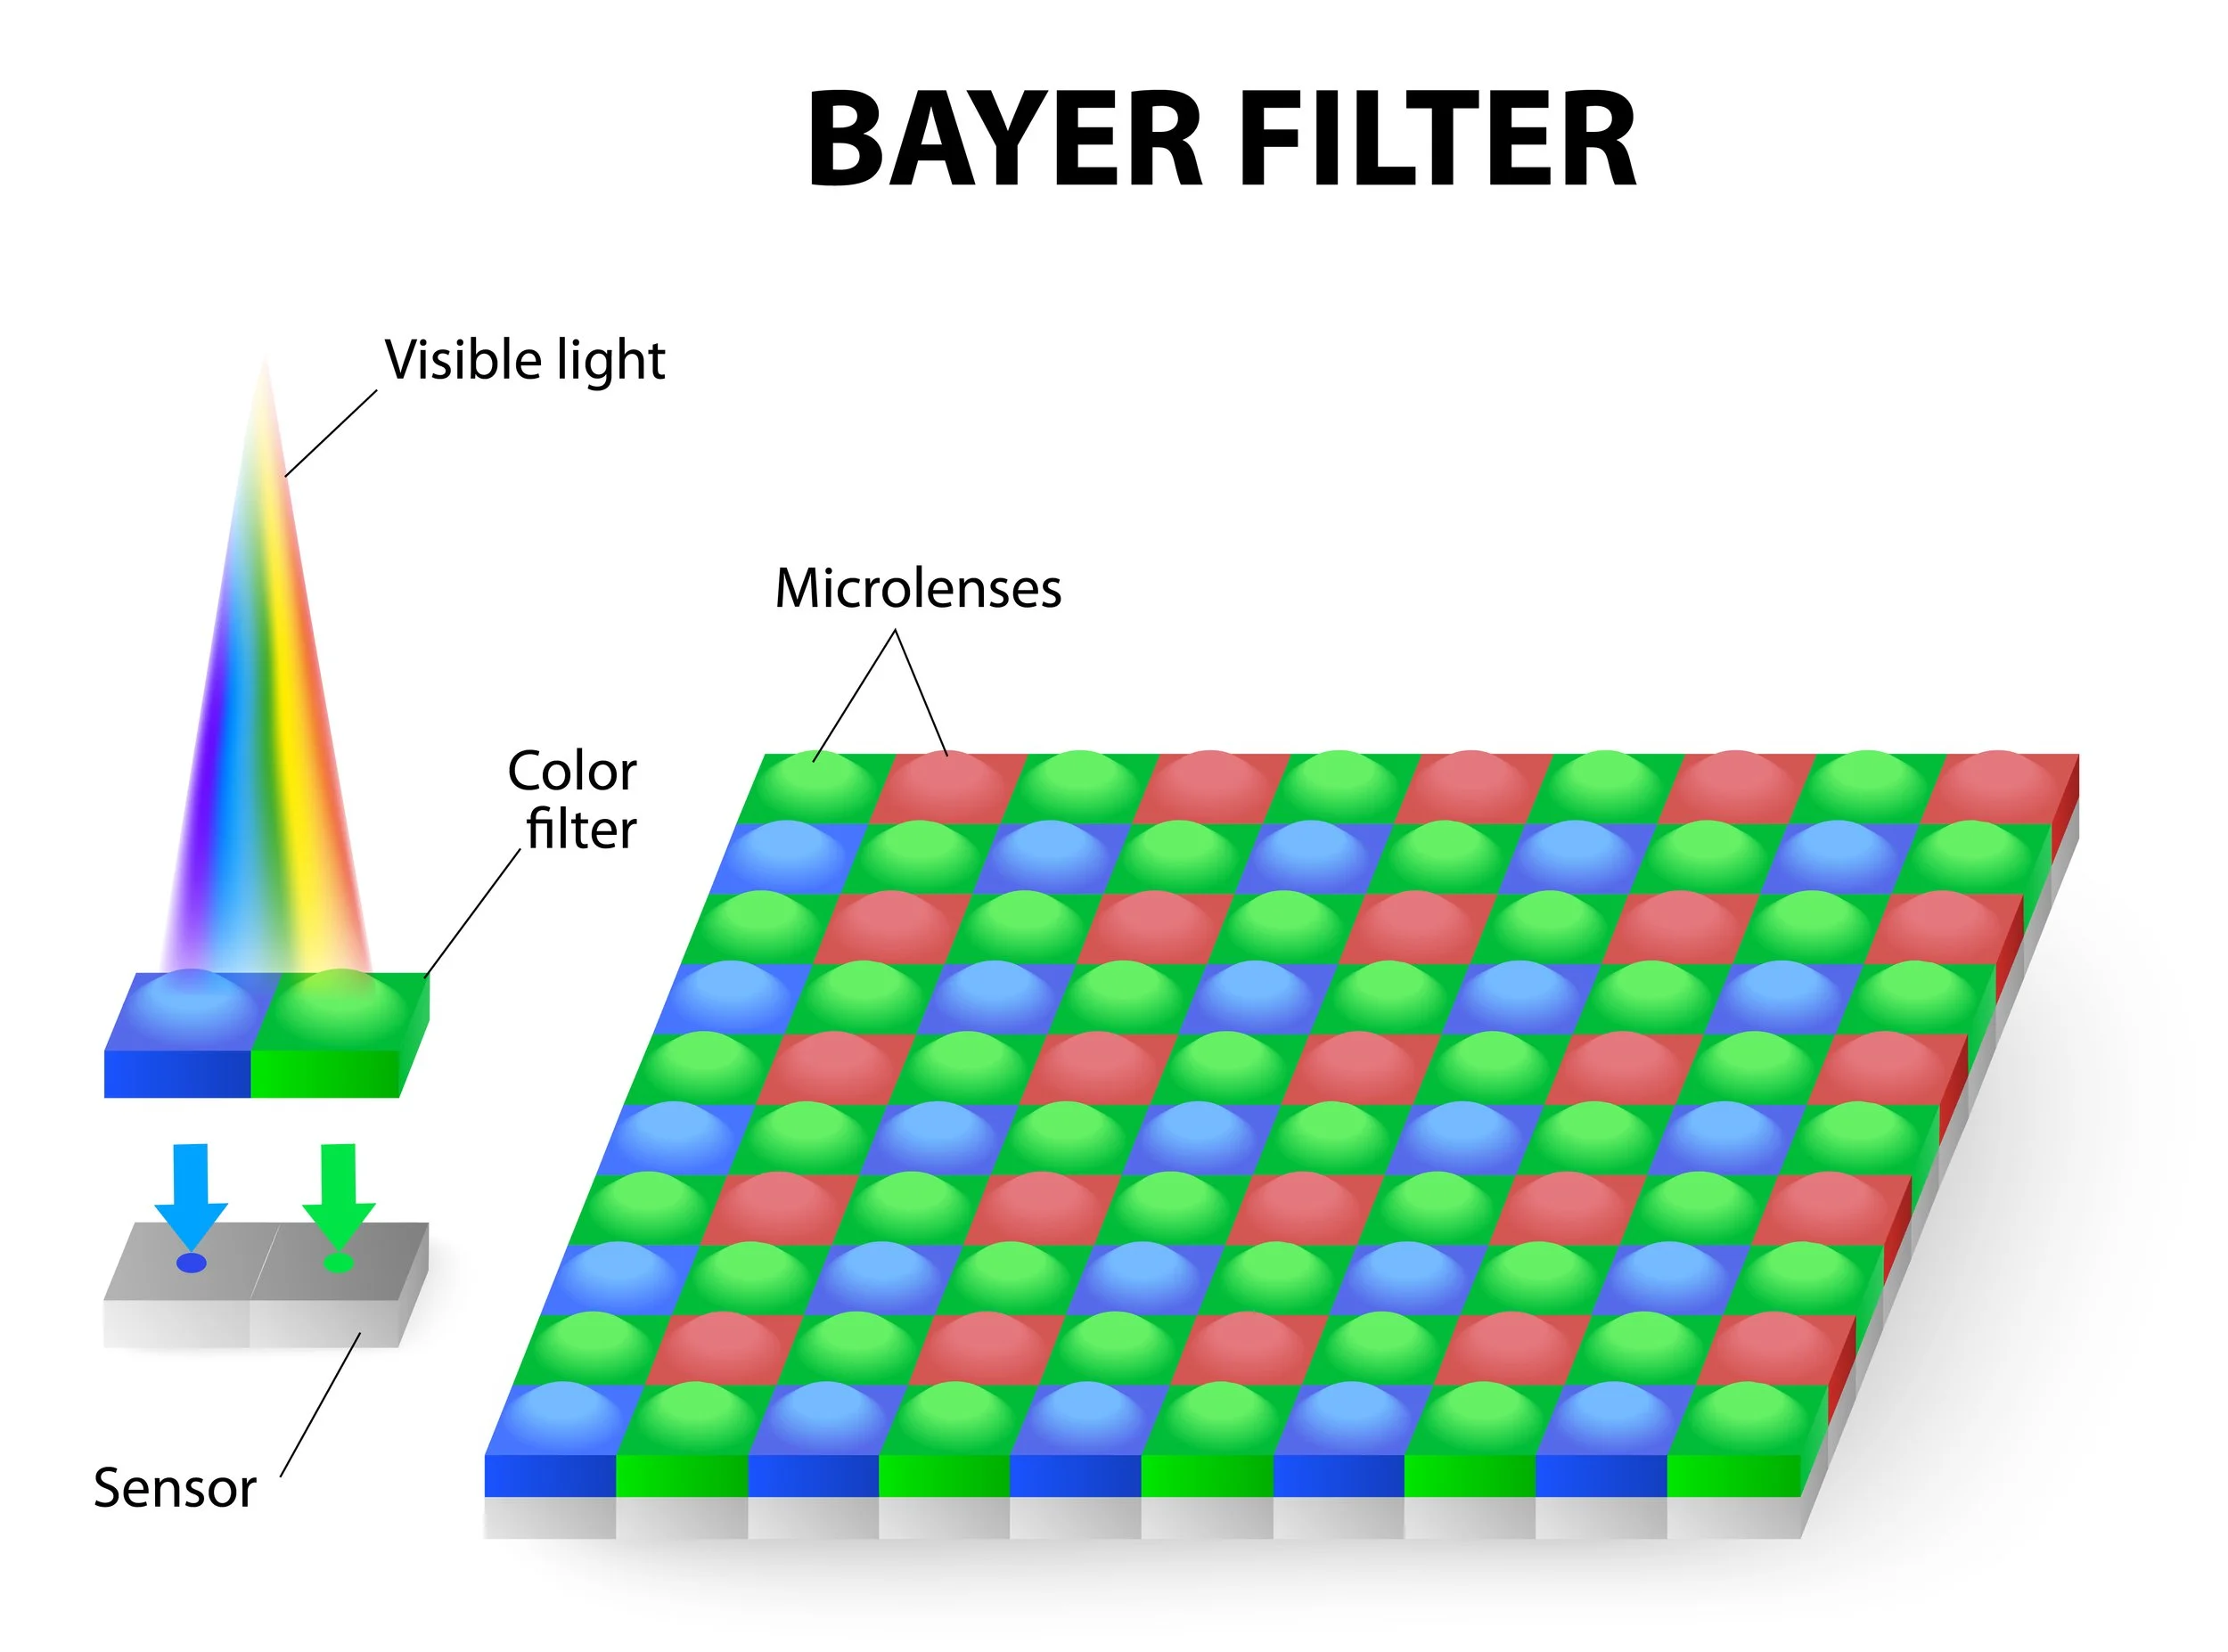
To understand how the digital camera records images, it is important to make a distinction between tone and color. Tone is defined as the level of brightness, or luminance, with respect to no brightness at all. So, black is a tone of zero luminance, while white is a tone of full luminance. Each photosite of digital camera's sensor translates the intensity of the photons striking it to a tone between black and white, which are within human perception.
Color refers to the various hues of differing levels of blue, green and red present in the scene. By placing tiny color filters over the photosites, called a "Bayer Filter Array" or "Color Filter Array", the tone for the photosites is shifted. The camera's computer then deciphers the shifted tones of each of the sensor's photosites to produce color hues. As a result, a digital representation of the scene is created with the various tones, or variations of pixel luminance, and varying color hues.
Now, the important point to remember is that this tonal construction occurs in exactly the same way for infrared photography as it does for color photography. The difference is that we filter the radiation that reaches the sensor to a portion of the spectrum we want to photograph in. Tones are still created according to the photon energy measured by the camera photosites.
When we restrict the radiation that reaches the digital camera sensor using a filter for the near infrared spectrum, the camera goes about creating tonal information based on the photon energy that reaches the sensor. The tonal conversion process of the digital camera doesn't change when we put on a filter for the infrared spectrum, even if the filter cuts off all of the visible spectrum.
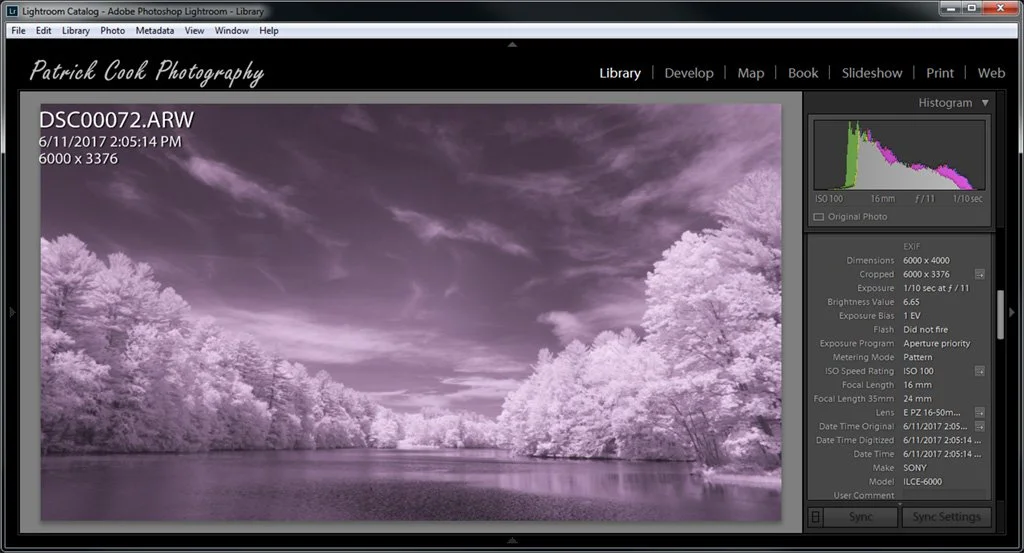
Now, what about color? As can be seen by the histogram of this image being shown in Lightroom, the image still has color information in all of its color channels. That's because the camera that was filtered to record in the near infrared spectrum still functions as a color camera. This example image was taken with an 830 nanometer lens mounted filter on a Sony a6000 converted for full spectrum. The 830 nanometer filter blocks all of the visible spectrum. Yet the camera is still trying to encode color information just as it was designed to do.

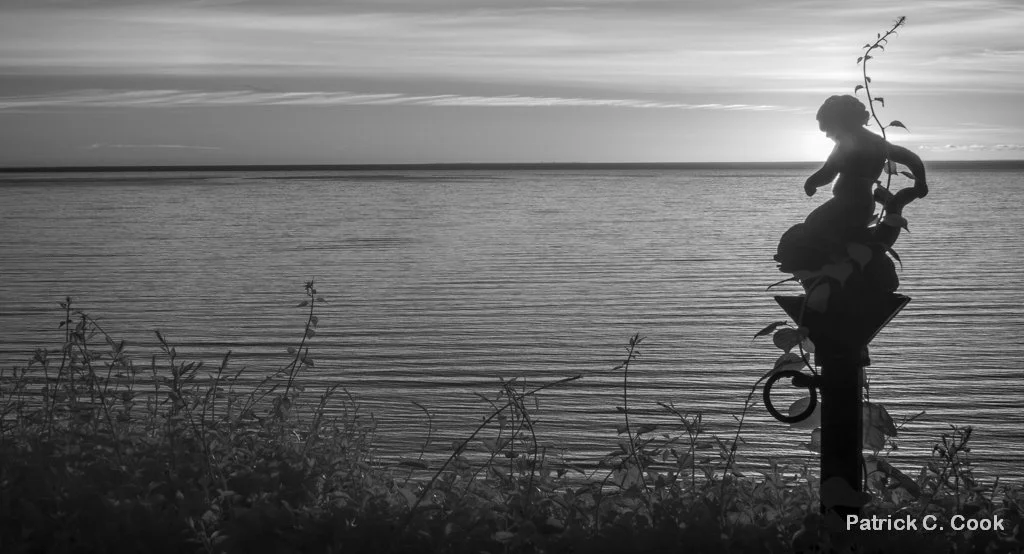
When all of the color channels are de-saturated, the tones of this image taken with an 830 nanometer infrared filer are preserved. This illustrates that the tone conversion of the digital camera functions equally as well in the infrared spectrum than in the visible spectrum. Even though the blue, green and red colors are still encoded by the camera, we can remove the colors for a monochrome final image as shown here.

This is the previous image that has been processed for color. While the image is not particularly very good, it illustrates how the purple color tint was leveraged with a red and blue channel swap. The result is that we can leverage colors in infrared photography even though we are photographing in a radiation spectrum that is colorless, even if we filter all of the visible spectrum out with an infrared filter. This is all possible because the digital camera is persistent in encoding color.
Our infrared images do not come off the camera in true monochrome given that the camera still attempts to encode color even though the filter is blocking all or most of the visible spectrum. Put a little more simply, a camera converted for infrared does not stop being a color camera. However, a converted camera's insistence on encoding color is not necessarily a bad thing because we can leverage the color channels of an image for creative use.
In infrared photography, if you prefer monochrome images, you can have those simply by de-saturating all of the color channels. If you want to creatively leverage color channels, you can have that too. Infrared photography is flexible enough to accommodate different image creation objectives. When you understand how the camera works in the infrared spectrum, you are in a much better position to achieve your image goals.

Infrared photography is actually a process of mapping radiation that is not invisible to humans, to tones that are within human perception. When this is understood, you are in a position to leverage infrared photography, and even to take it beyond the typical infrared image.
Please refer to my course “The Infrared Photography Masterclass” for more on this interesting topic.